Home › Tutorials › Create a 3D floor plan from scratch
How to Create a 3D Floor Plan From Scratch (No File Needed)
You do not need a drawing to start. If the home only exists in your head — an extension you are planning, a flat you are thinking of renting, a house you would like to build — you can draw it here and walk through it in about four minutes.
Watch it (4 minutes)
A blank page to a furnished home you can walk through. Here is each step.
What four minutes of drawing gets you
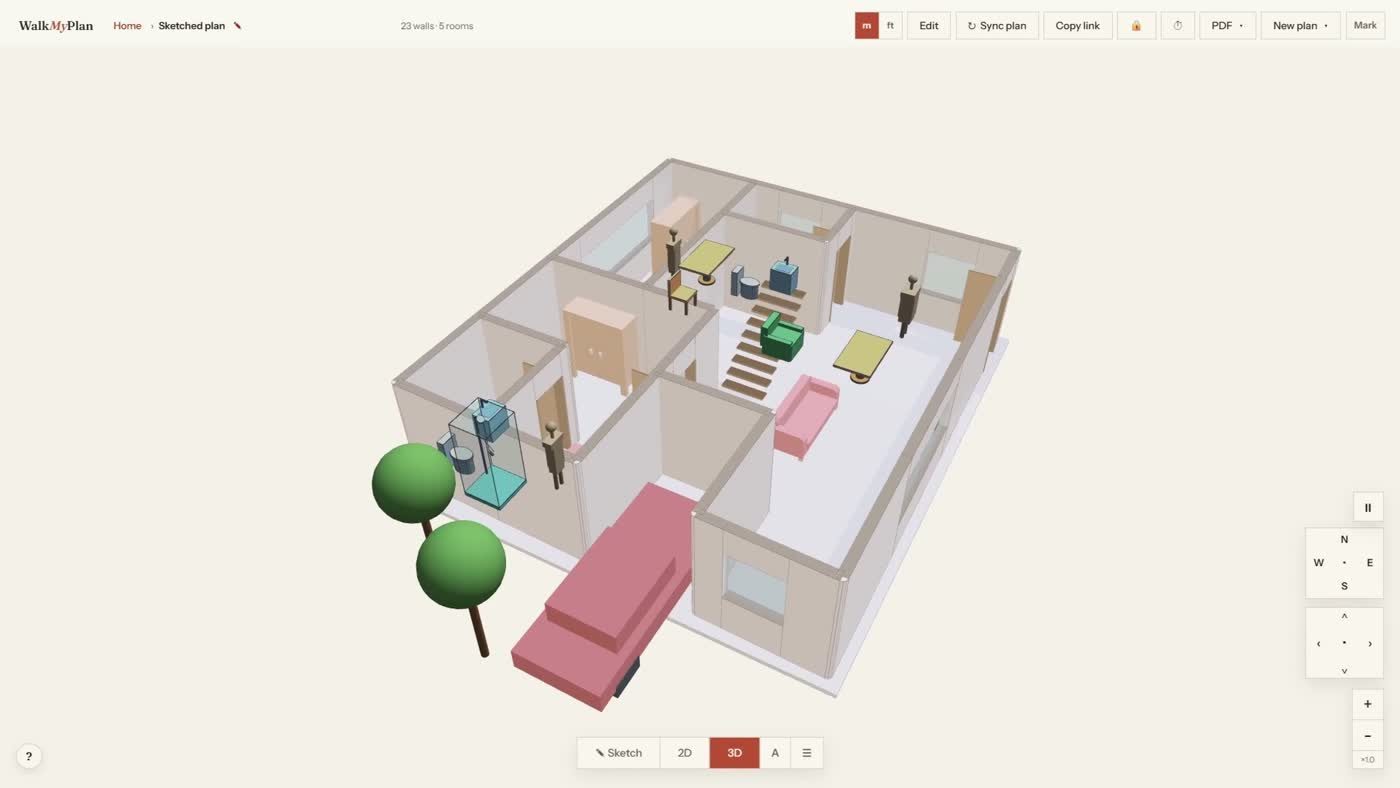
No PDF was involved anywhere in this. It began as an empty grid.
Step 1 — Draw one line
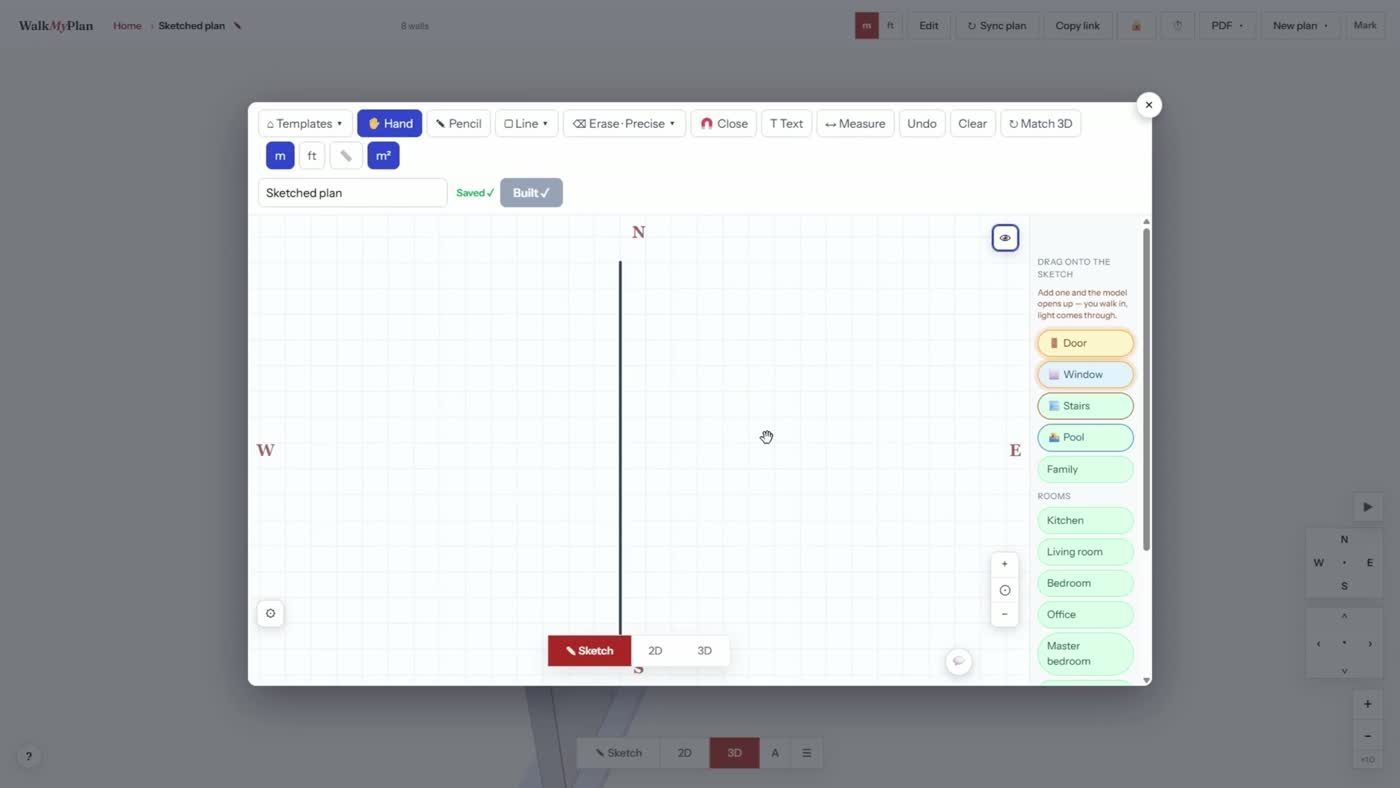
Take the pencil and draw. There is no setup, no template to choose, no units to configure first — the grid is in metres and the line you just drew is a wall.
One line is already a building
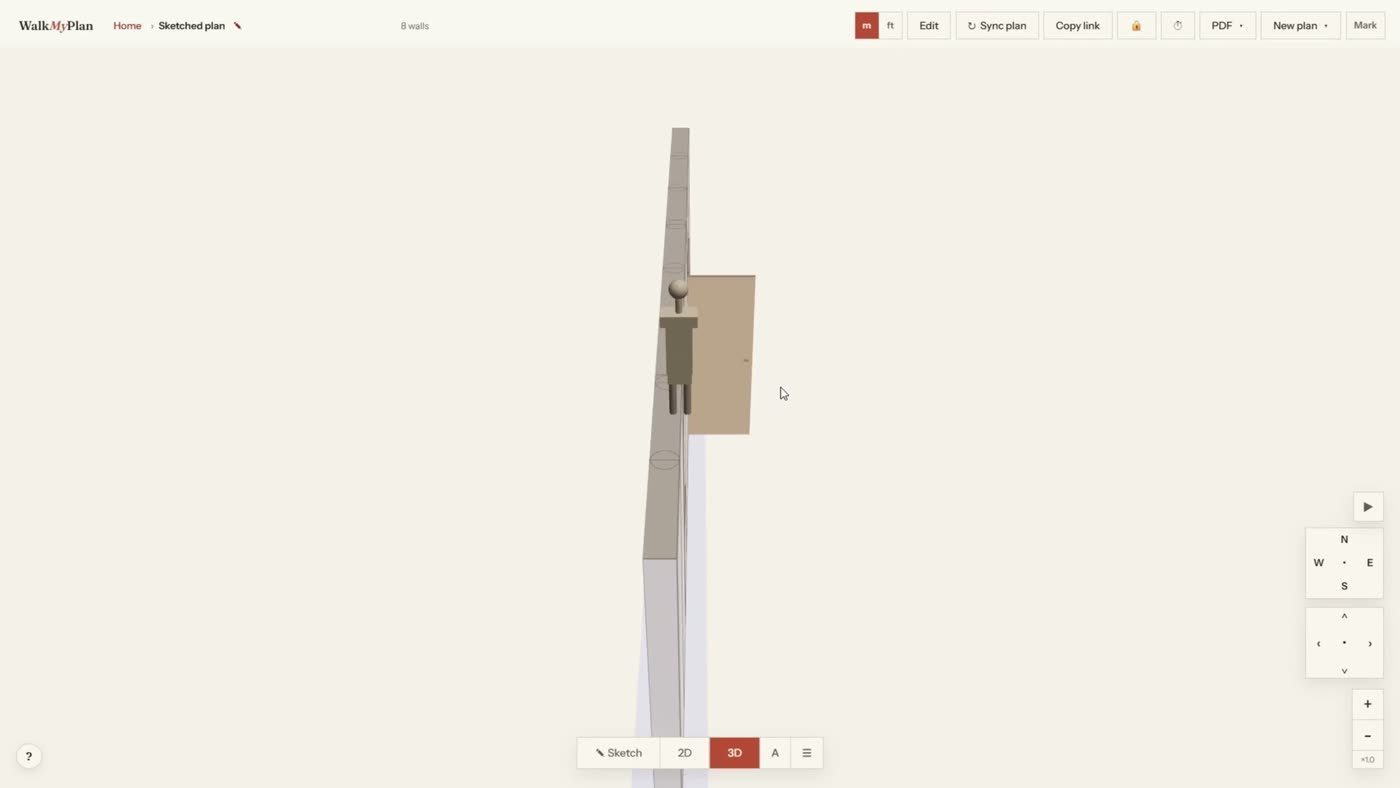
You can flip to 3D at any moment, even this early. It is worth doing once just to feel how direct the loop is: draw a line, look at a wall.
Step 2 — Close the shapes and rooms appear
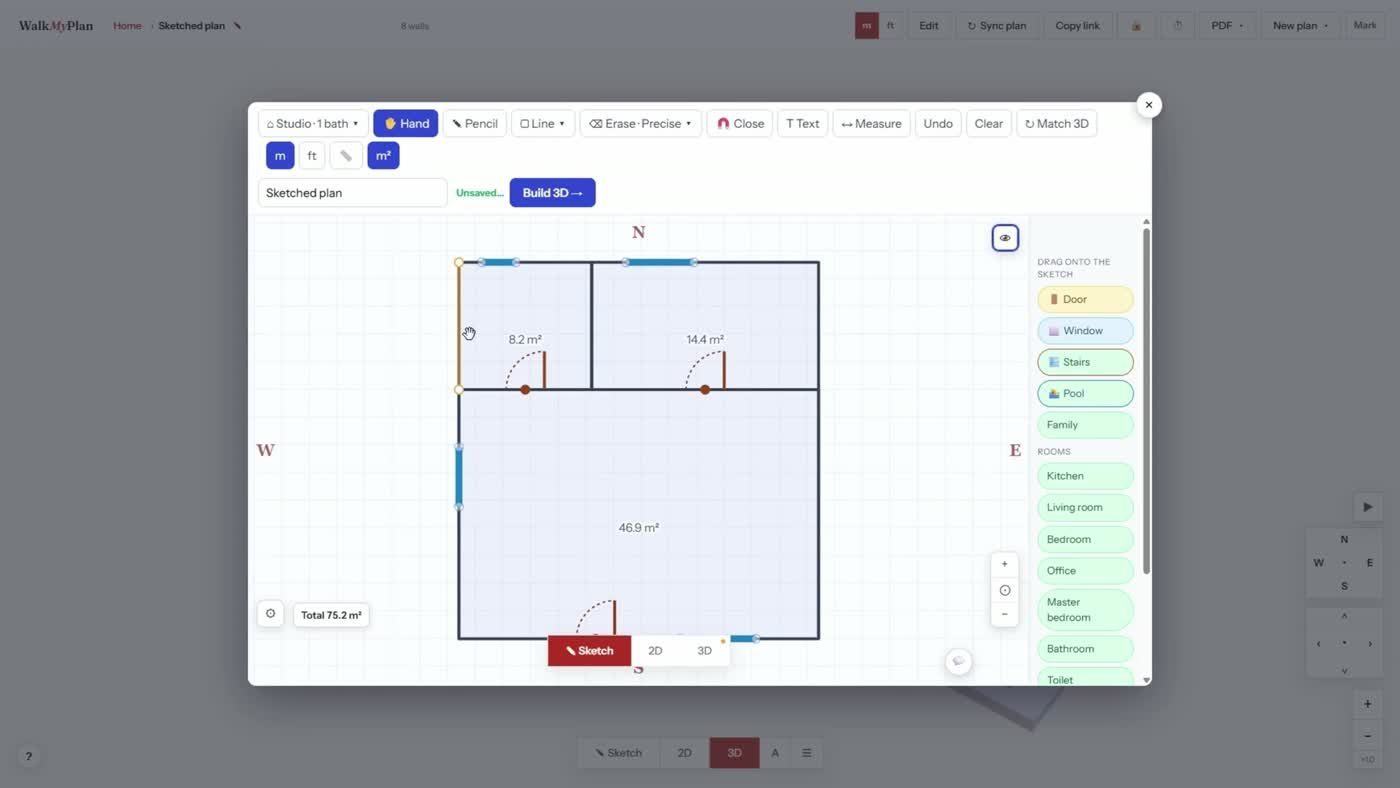
Every closed shape becomes a room and prints its own area, with a running total at the bottom. This is the part people find unexpectedly useful — you can size a room by drawing it and watching the number, instead of doing arithmetic first.
Step 3 — Drop in furniture and a pool
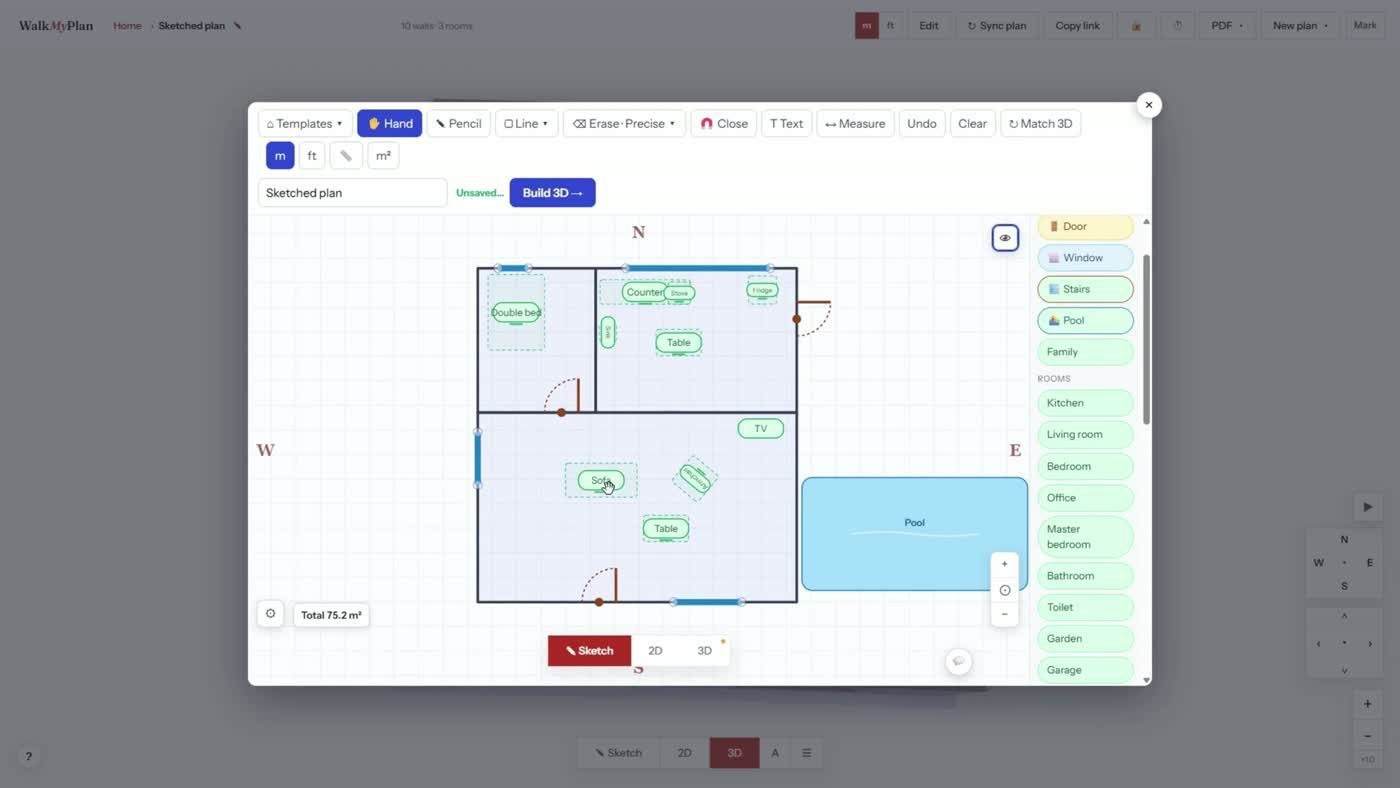
Furniture comes from the panel on the right — drag it where you want it. Name the rooms while you are here; the names show up in 3D and in the printed plan.
Change your mind as often as you like
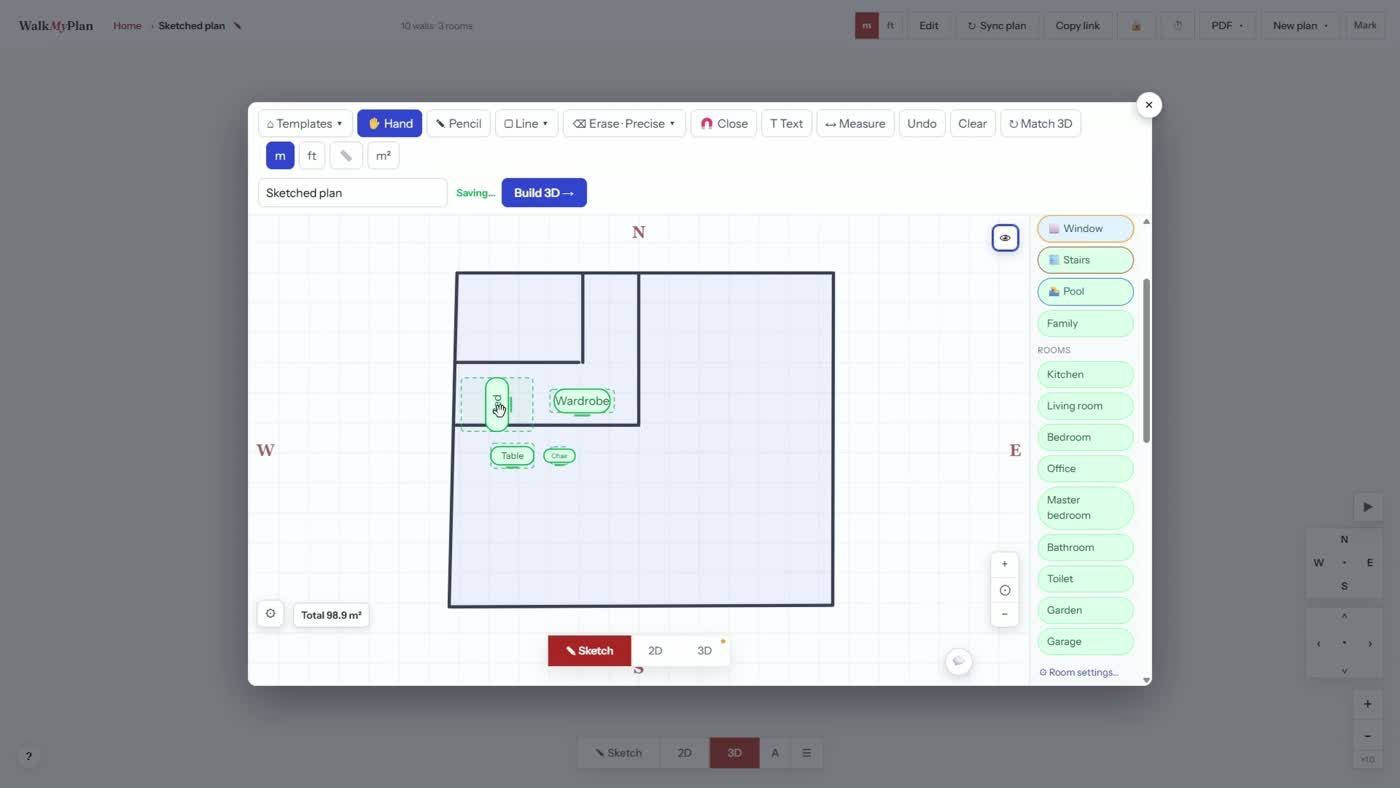
This is the real reason to draw from scratch rather than in a CAD tool: moving a wall is one drag, and everything downstream updates itself.
Step 4 — Walk through it
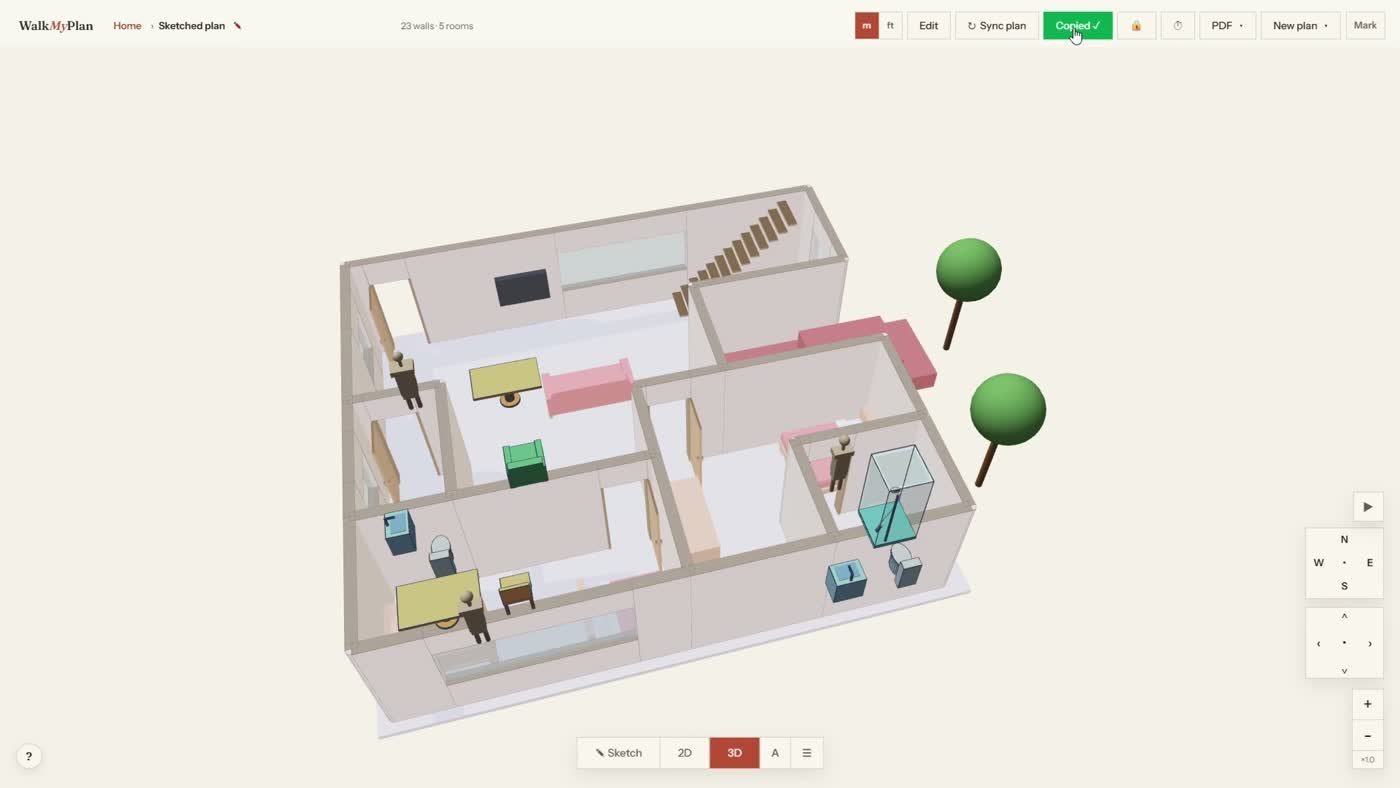
Standing inside a room is how you find out whether it is actually big enough. Adding a person or two gives you the scale instantly.
Step 5 — Print it or send it
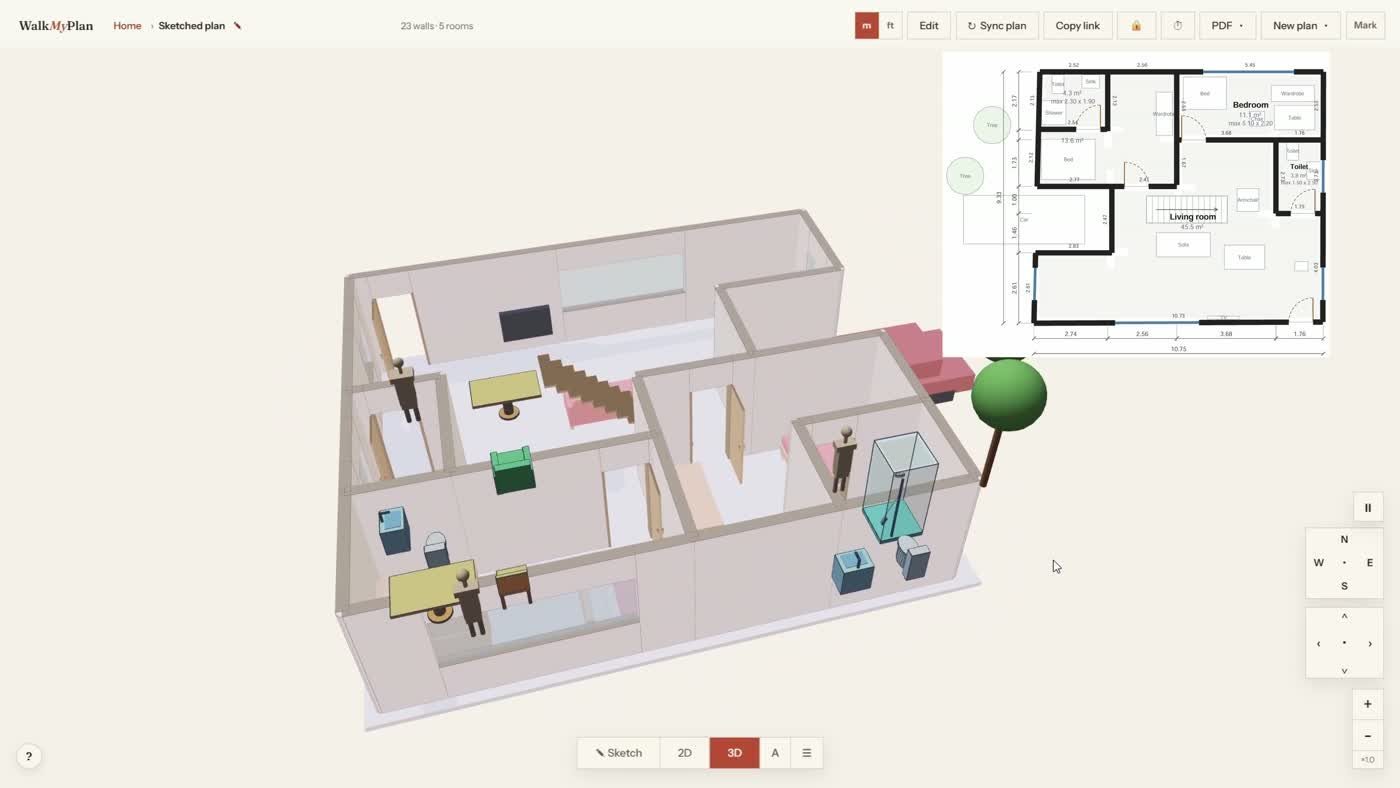
The PDF comes out measured and labelled, which is what a builder or a landlord actually wants. The share link opens the walkable model in a browser, no account needed at the other end.
Questions people ask
Do I need a floor plan to start?
No. That is the whole point of this one — you start from a blank page.
Is it in metres or feet?
Either. There is a metres and feet toggle in the toolbar, and switching it converts everything.
How accurate is it?
As accurate as you draw. You can right-click any wall and type its exact length, so a plan drawn roughly can be made exact afterwards.
Can I add a second floor?
Yes — draw the second floor and stack it on the first. There is a separate tutorial for that.
Draw the home in your head
A blank page, a pencil, and about four minutes. No file, no account needed to try.
Next: already have a plan? start from that · add a second floor