Home › Tutorials › Turn any floor plan into a 3D home
Turn Any Floor Plan Into a 3D Home in Minutes
This is the short one. If you only watch a single video, watch this — it is the whole idea in under three minutes, and it works with any drawing you have, however rough.
Watch it (under 3 minutes)
Same four moves every time, whatever you started from.
What you get at the end
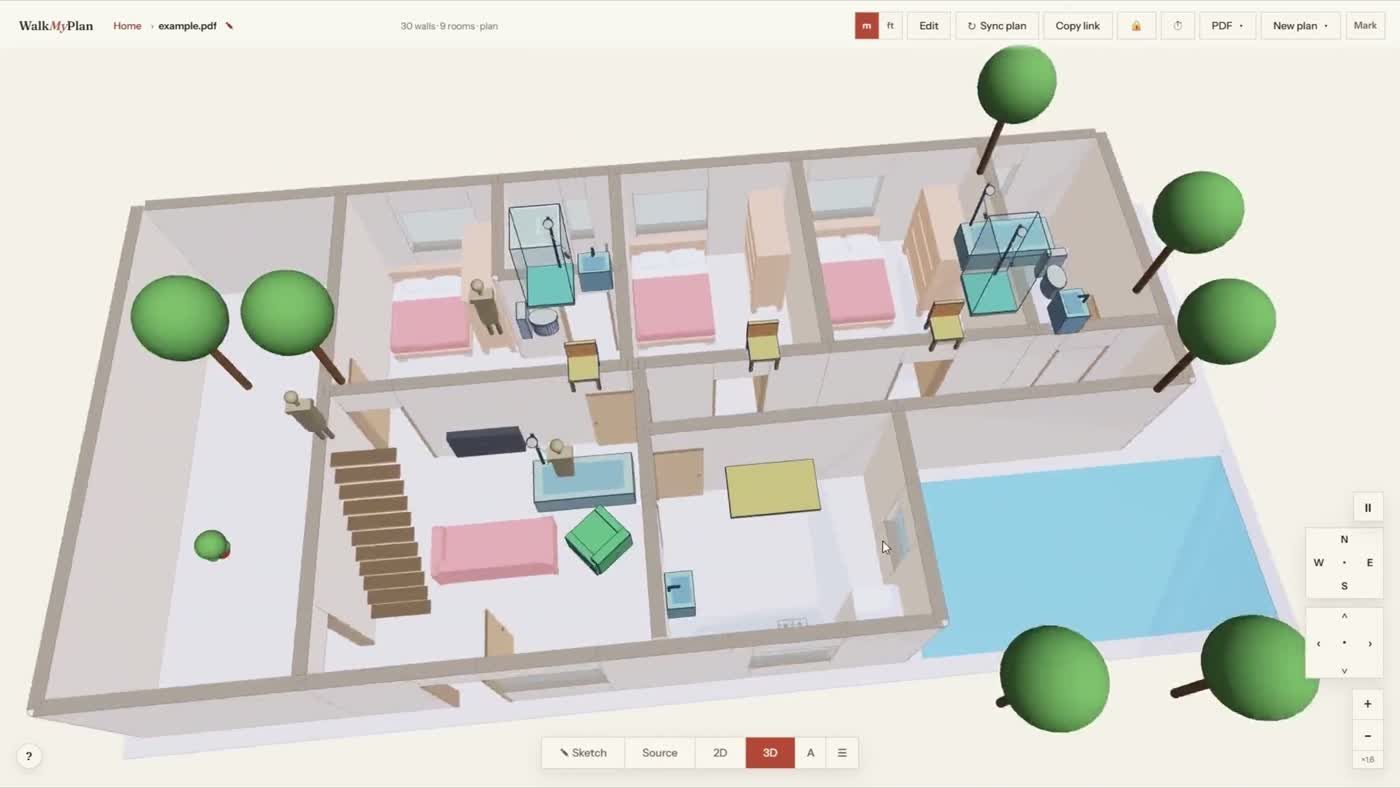
Starting at the end so you know where this goes. Everything below took under three minutes in the video.
Step 1 — Drop the plan in
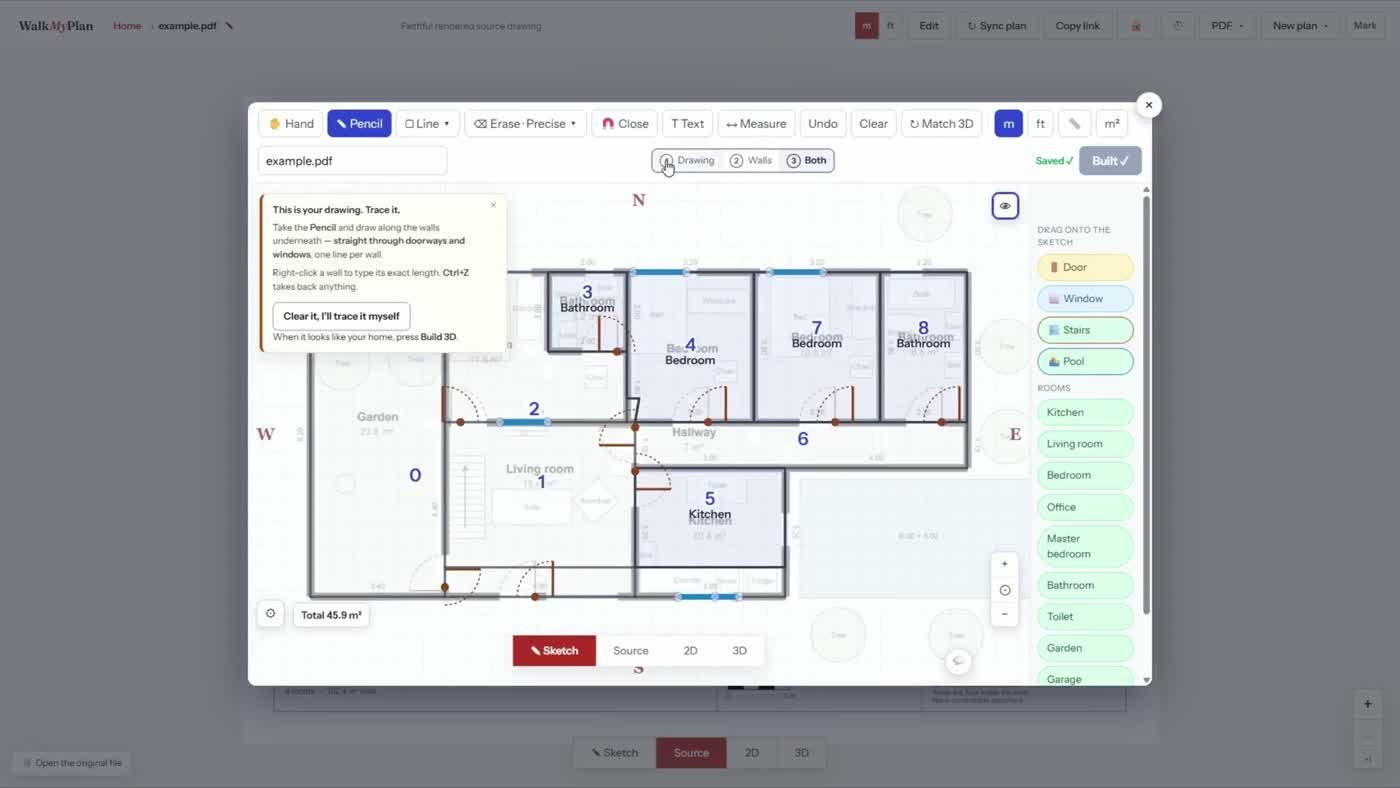
Drag the file on. PDF, PNG, JPG, WebP or DWG — it lands under the sketch pad as something to trace over. A DWG carries real CAD geometry and is read directly; a PDF or a photo is paper, and the walls are yours to draw.
Step 2 — Trace the walls
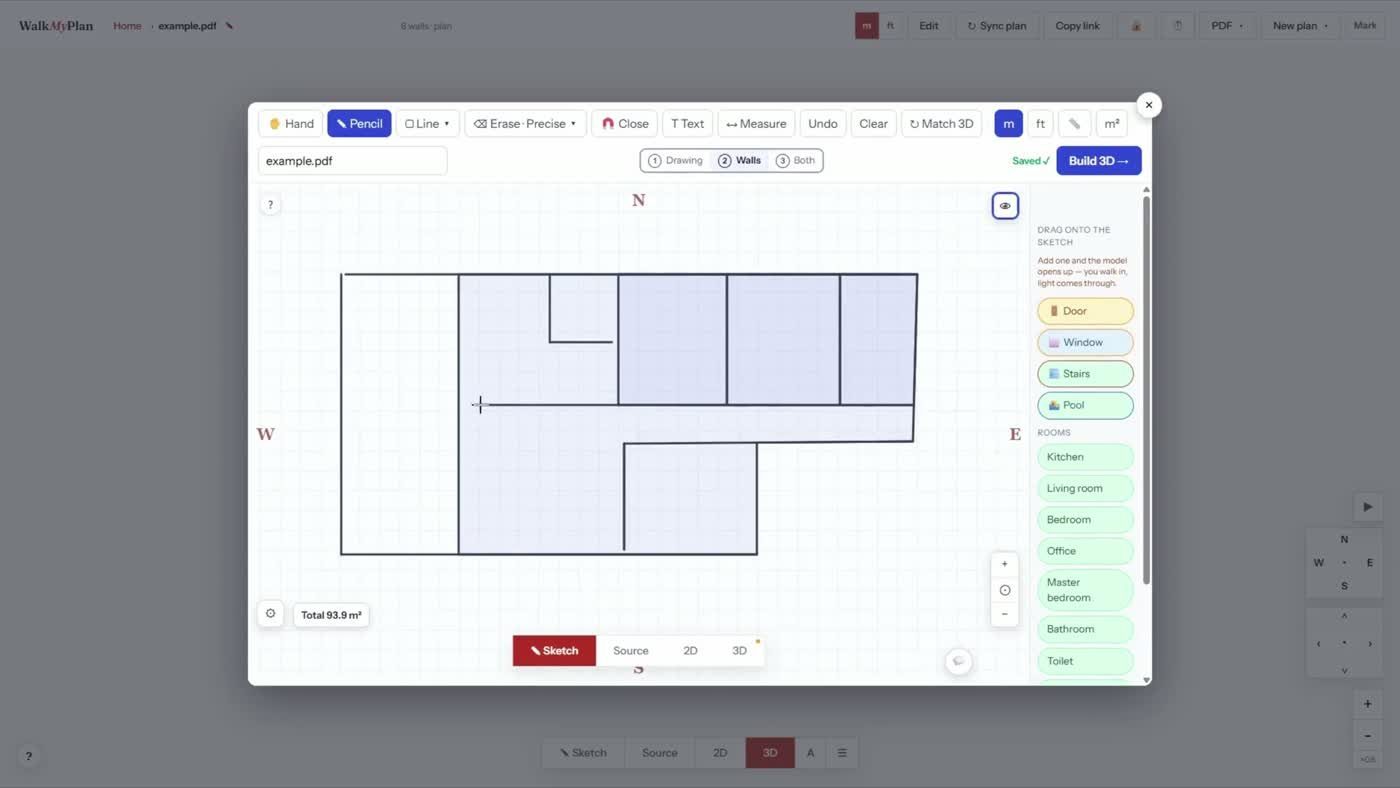
Outline first, then the walls inside it. Lines snap straight and rooms close themselves.
Check it without the drawing underneath
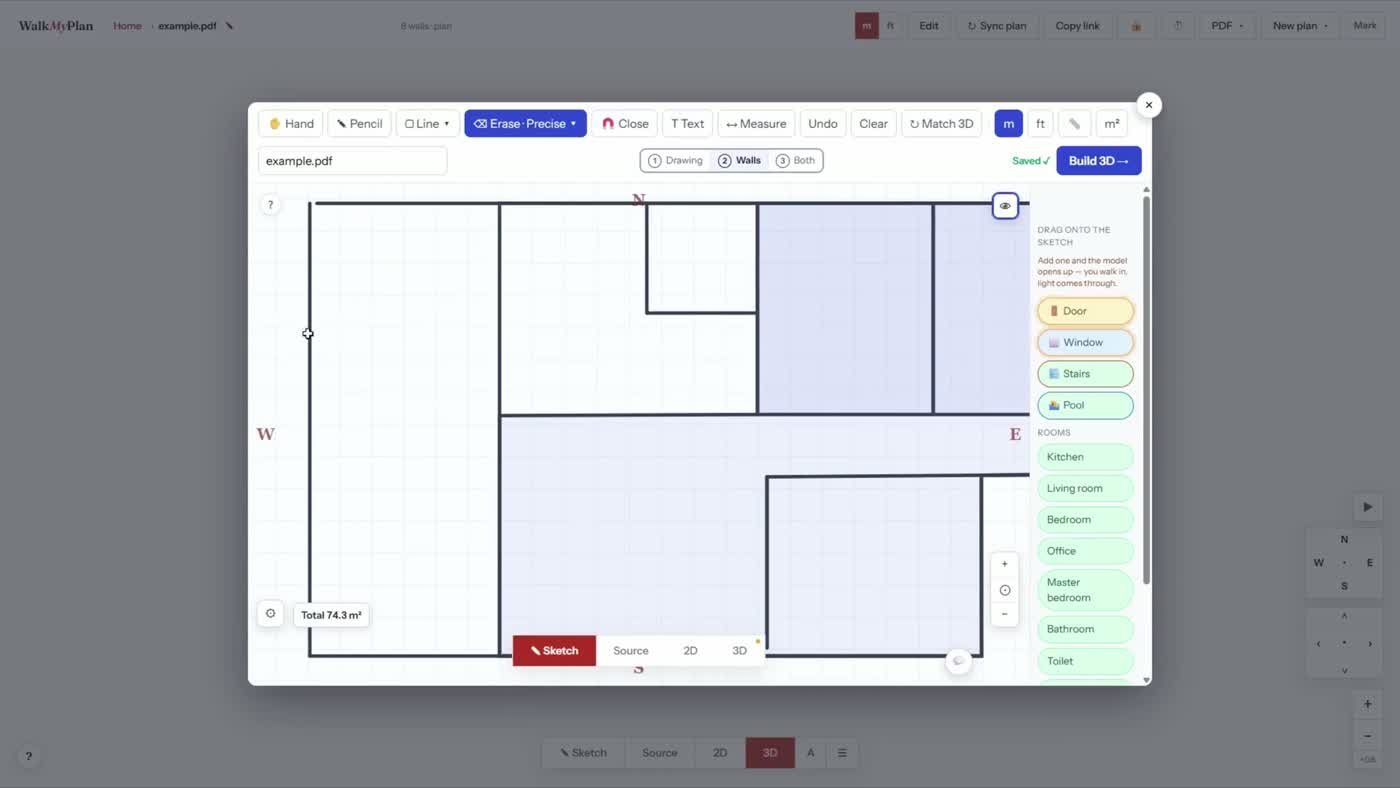
Flipping between Drawing, Walls and Both is how you catch a wall you missed.
Step 3 — Doors and windows
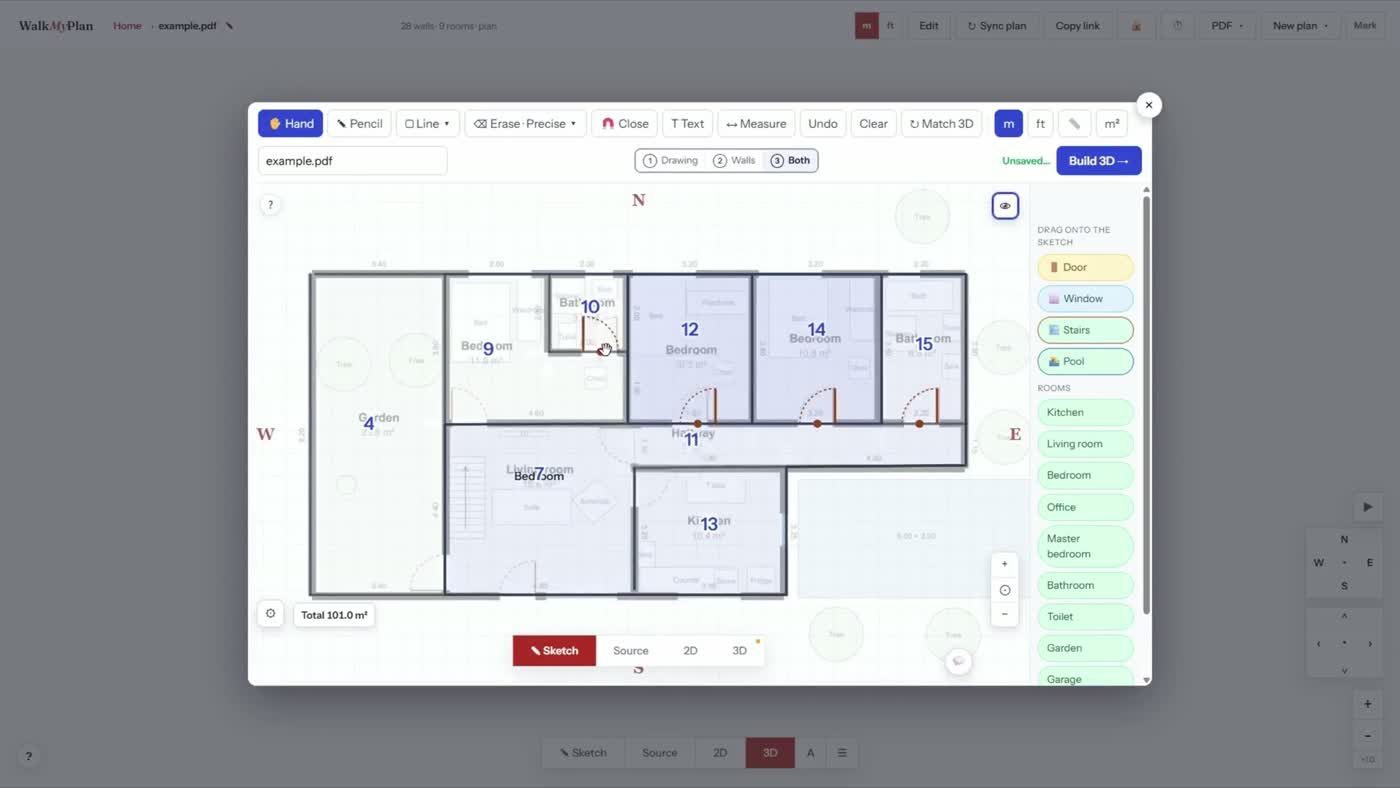
Drag a door where the drawing shows one, stretch a window to match. This is also where the plan starts to feel like a real place.
Furnish it, and add what is outside
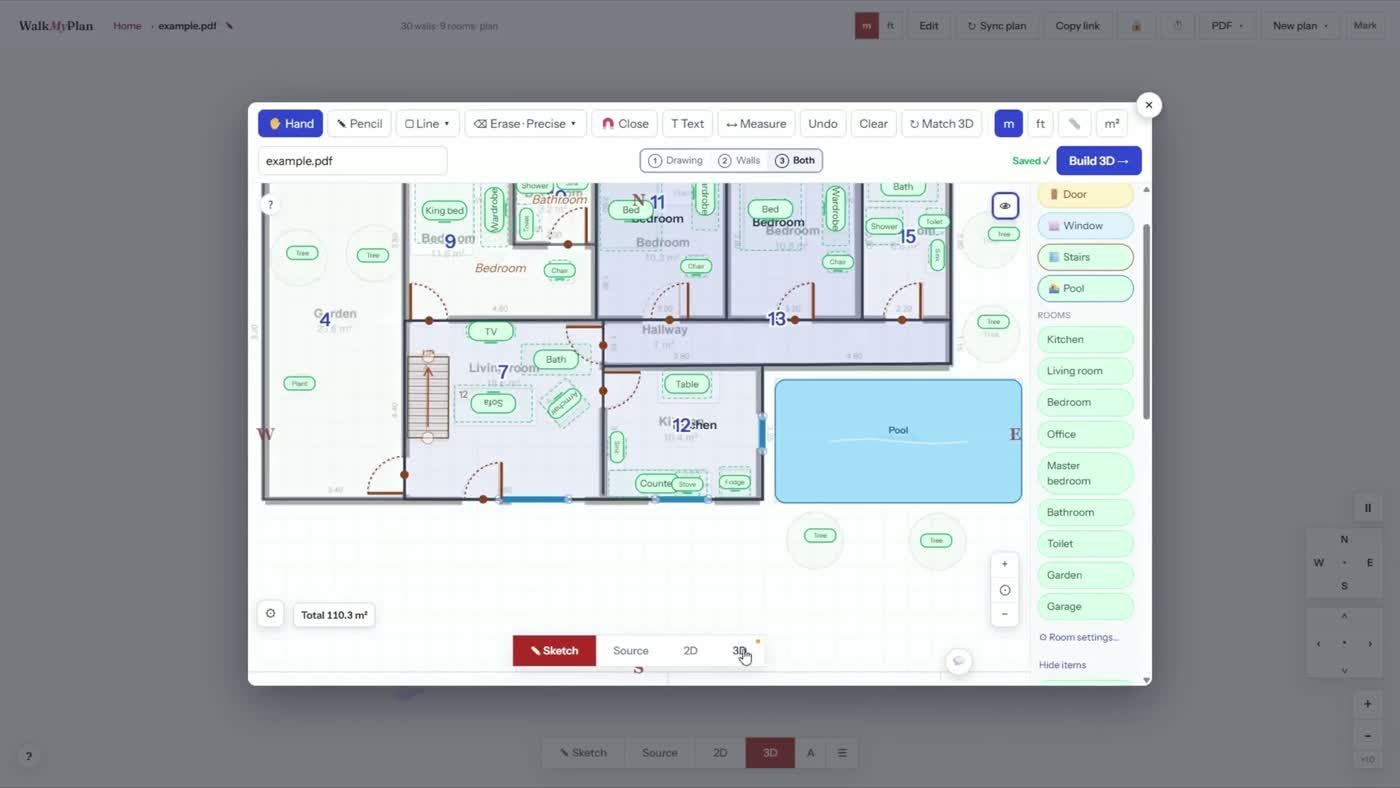
Furniture is optional but it is what makes the 3D look like somewhere people live. Pools, pergolas and gardens go outside the walls the same way.
Step 4 — Build 3D
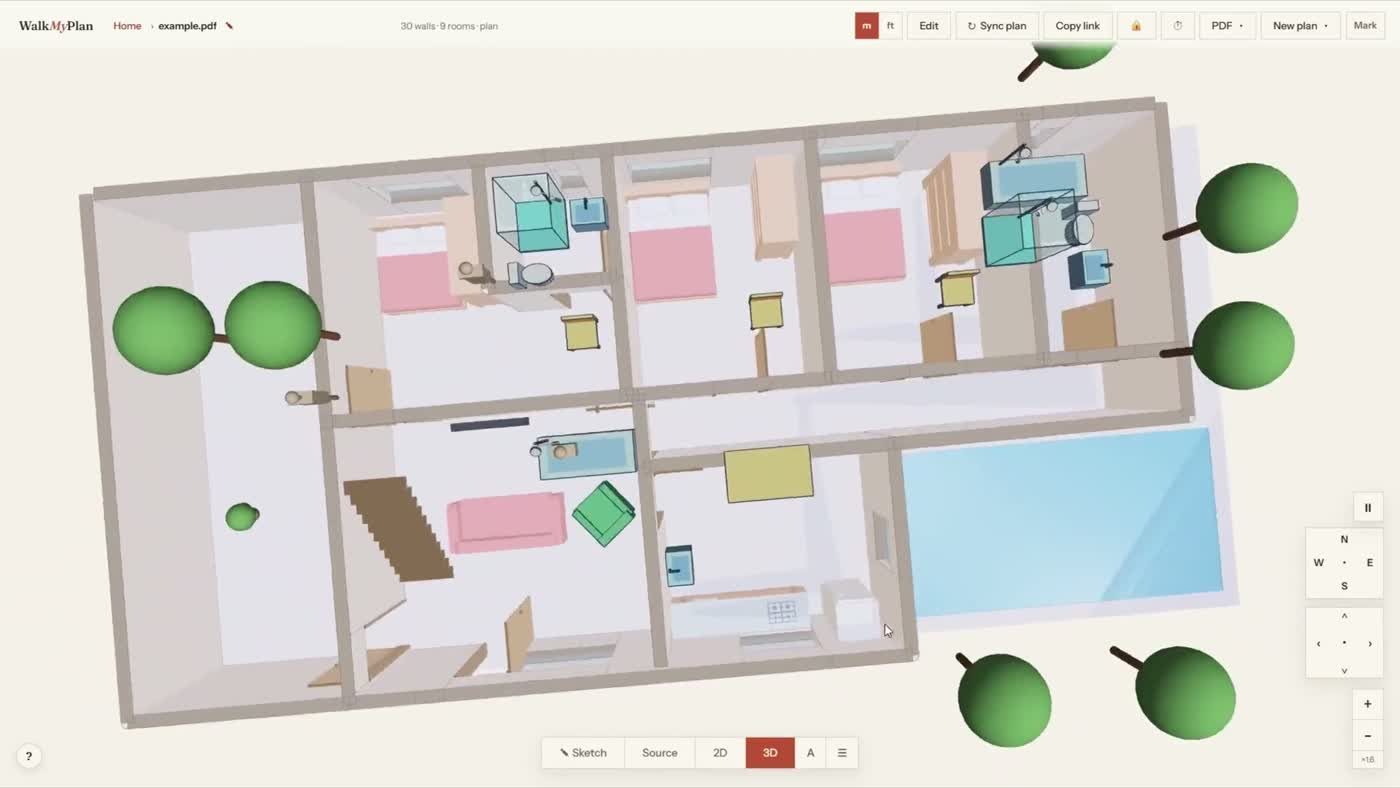
That is the whole loop. From here you can walk it at eye height, print it as a PDF, or render it as a photograph.
It really does work on a napkin
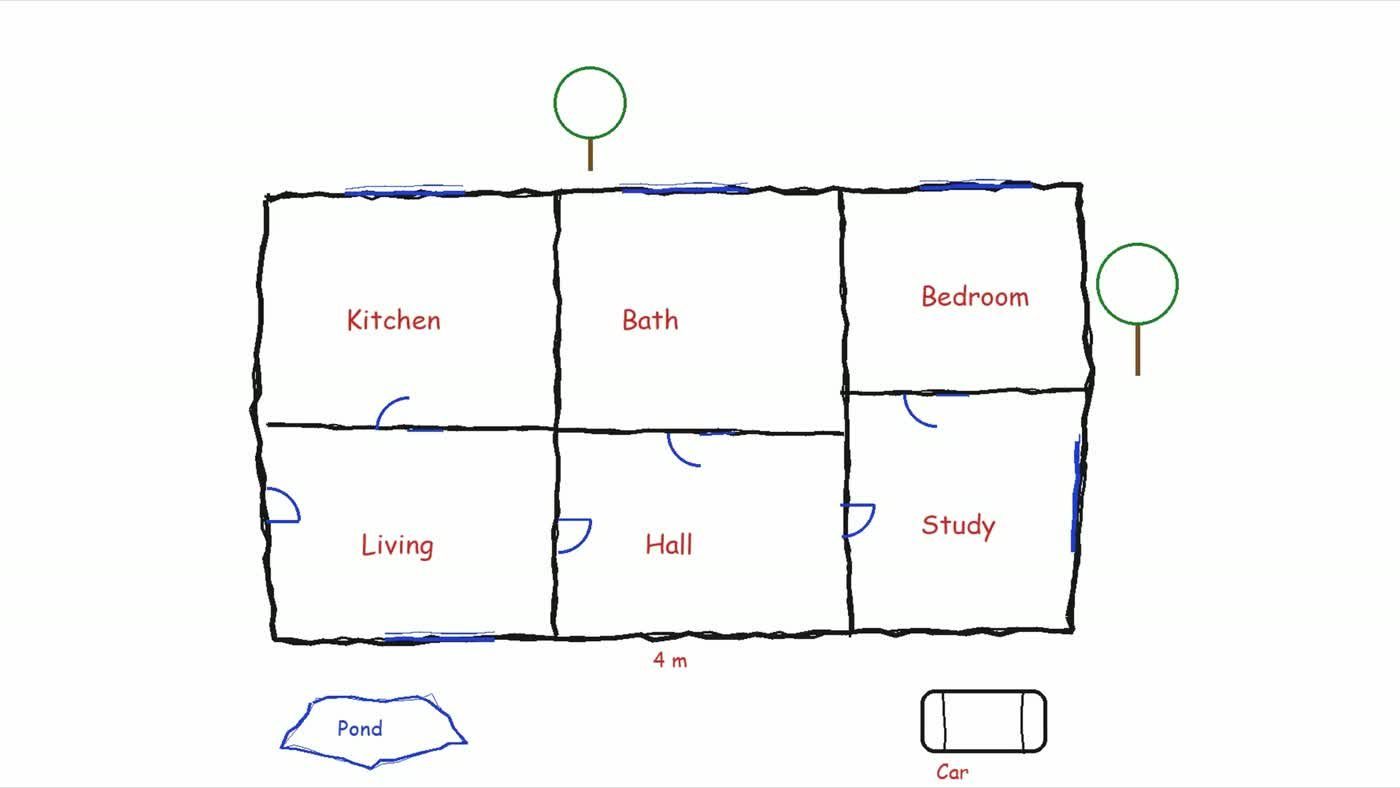
Take a photo of it with your phone and upload that. The drawing is only a backdrop to trace over, so it does not need to be neat, straight or machine-readable.
Questions people ask
What file types can I upload?
PDF, DWG, PNG, JPG and WebP, up to 100MB. A photo of a paper drawing counts.
Does it really take three minutes?
For a small plan, yes. A large or messy drawing takes longer — the eleven-minute walkthrough shows a full-sized one at real speed.
Do I need an account?
You can try it without one. An account keeps your plans and lets you come back to them.
What if my drawing is crooked or hand-drawn?
Fine. You trace over it and the lines snap straight, so a wobbly original becomes a straight plan.
You almost certainly have a plan you could try
An email from an architect, an estate agent listing, a photo of a drawing on the wall. Any of them work.
Next: the full 11-minute walkthrough · no plan at all? start from scratch