Home › Tutorials › Two floor plans into a two-story home
How to Turn Two Floor Plans Into a 3D Two-Story Home
Most homes have more than one floor, and most floor plan tools quietly assume they do not. This is how you draw a first floor and a second floor and stack them into a single building you can walk from top to bottom.
Watch it (11 minutes)
The trick is in the stacking — the second floor snaps onto the one below it, so the walls line up on their own.
Step 1 — The ground floor
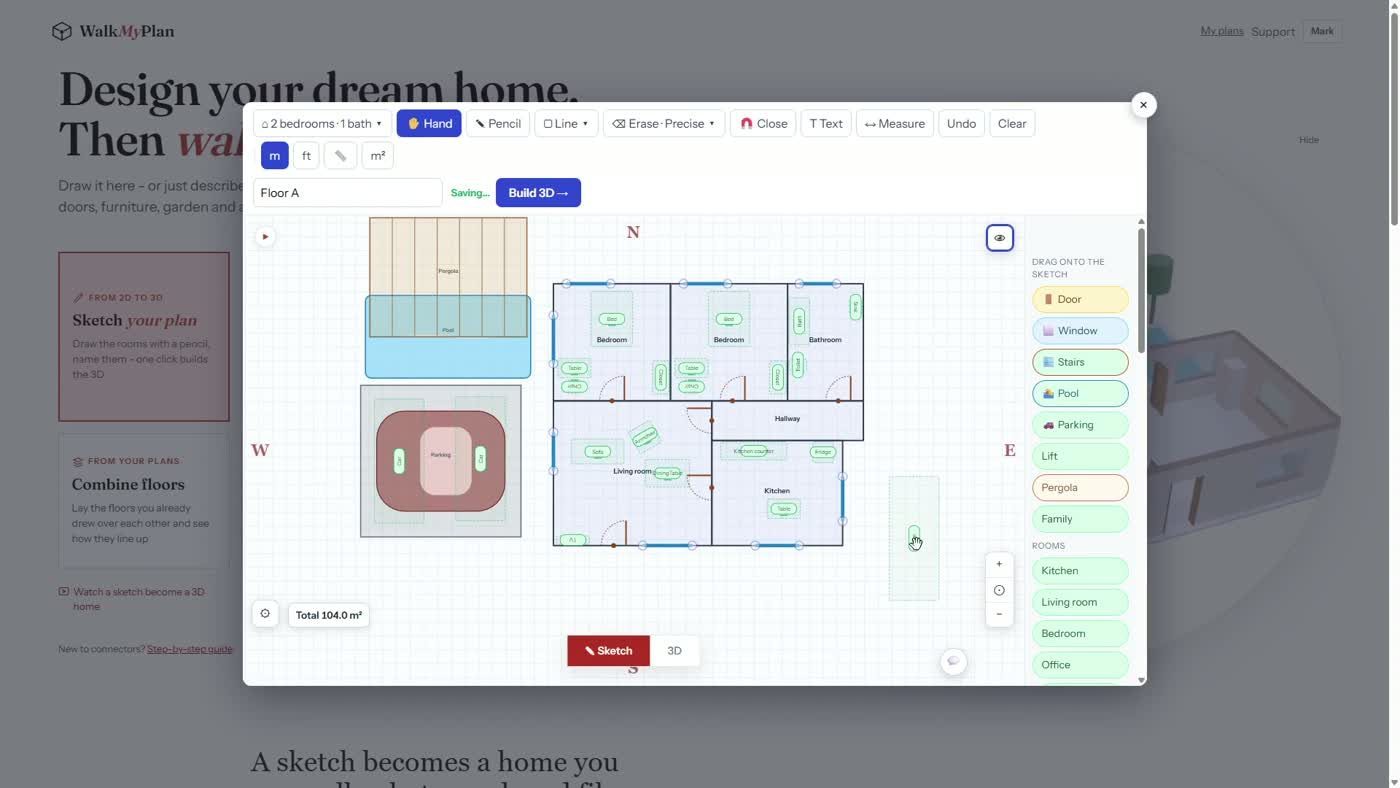
Start with the floor that touches the ground. Draw it, or trace it from a drawing — either works. Anything outdoors, like the pool and pergola here, belongs on this floor.
Get the walls exactly right before you stack
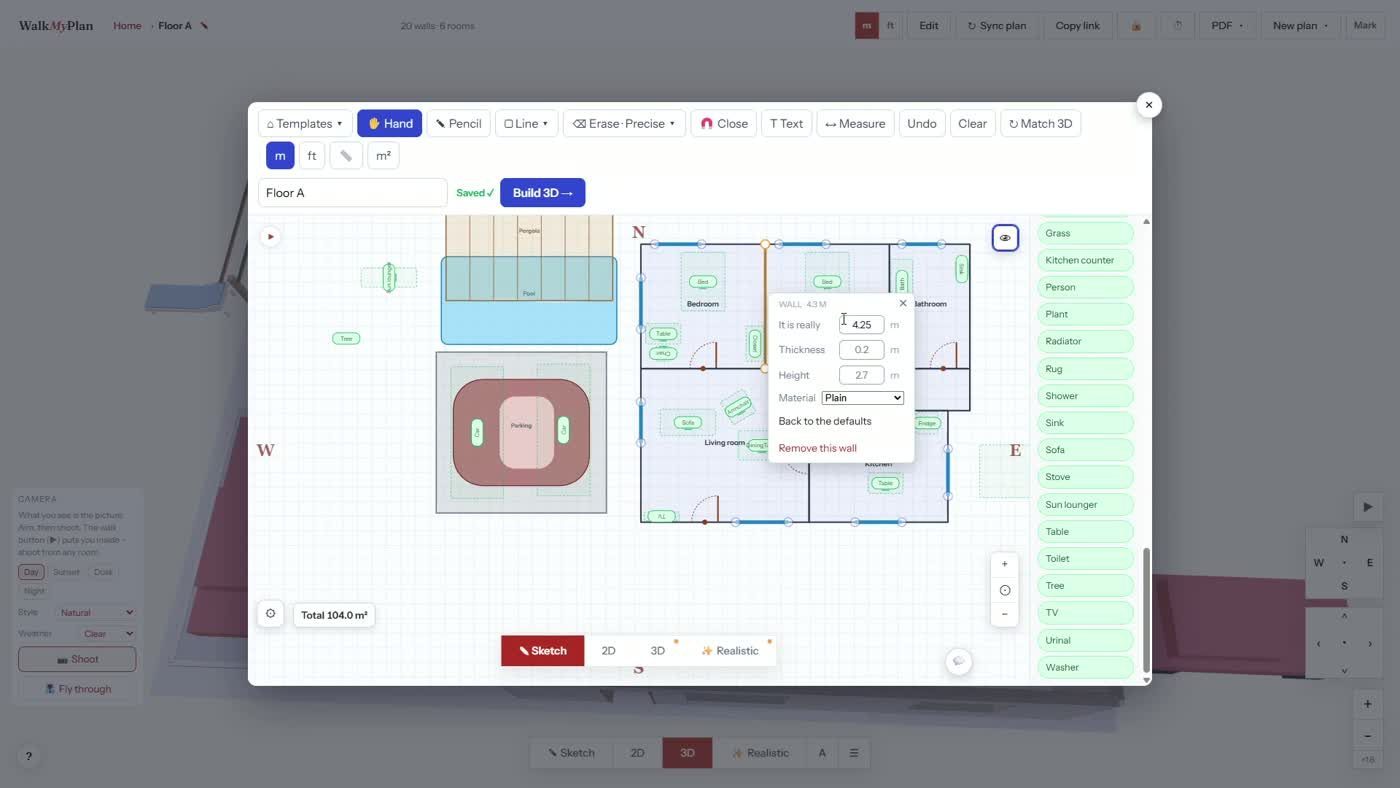
Right-click a wall and you can type its real length, its thickness and its height. Do this on the ground floor before you add the floor above, because the upper floor sits on these walls — the height you set here is the height the second floor starts at.
Step 2 — Build it and check it
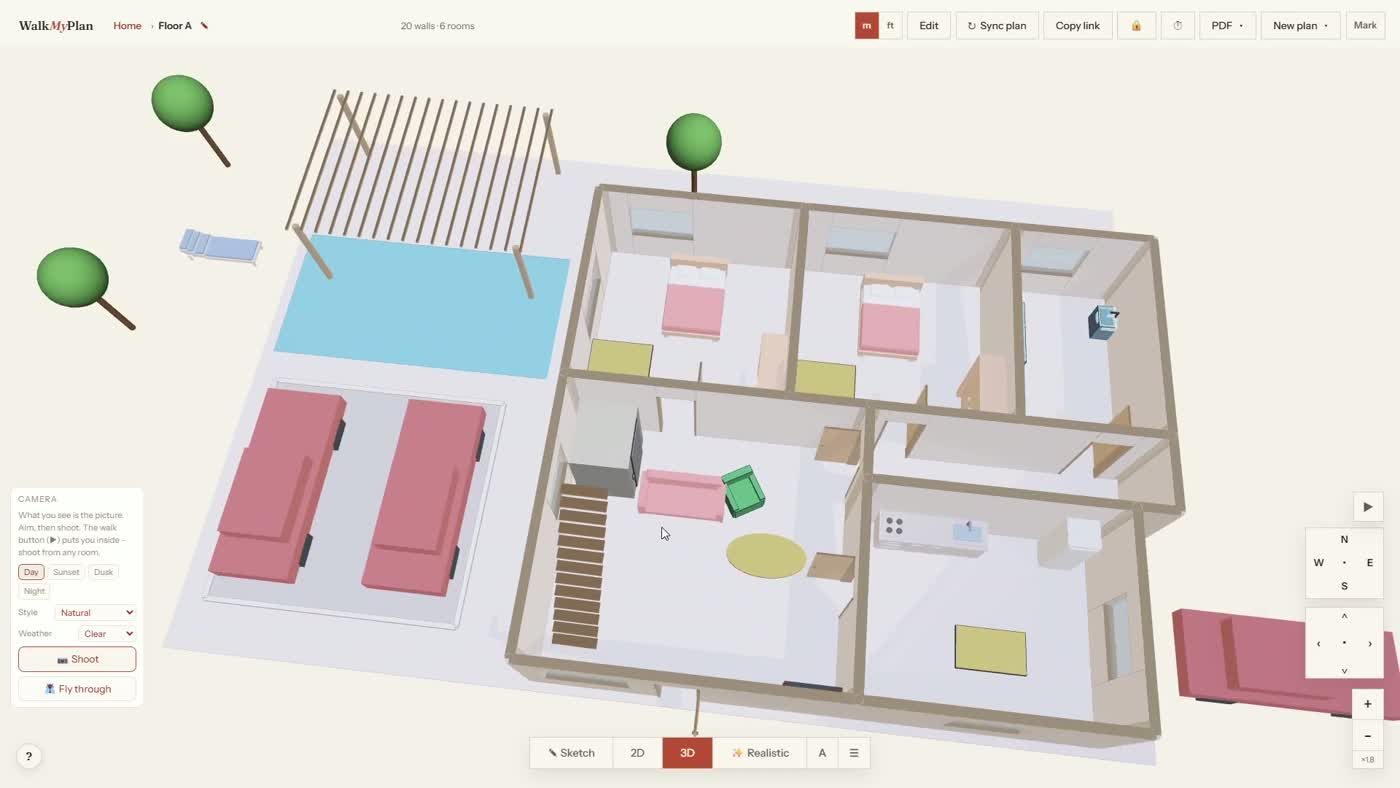
Build it and look before you go up. Put the staircase in now — it is the thing that has to line up with the floor above, so it is much easier to place while you can still see the whole ground floor.
Step 3 — Add the floor above
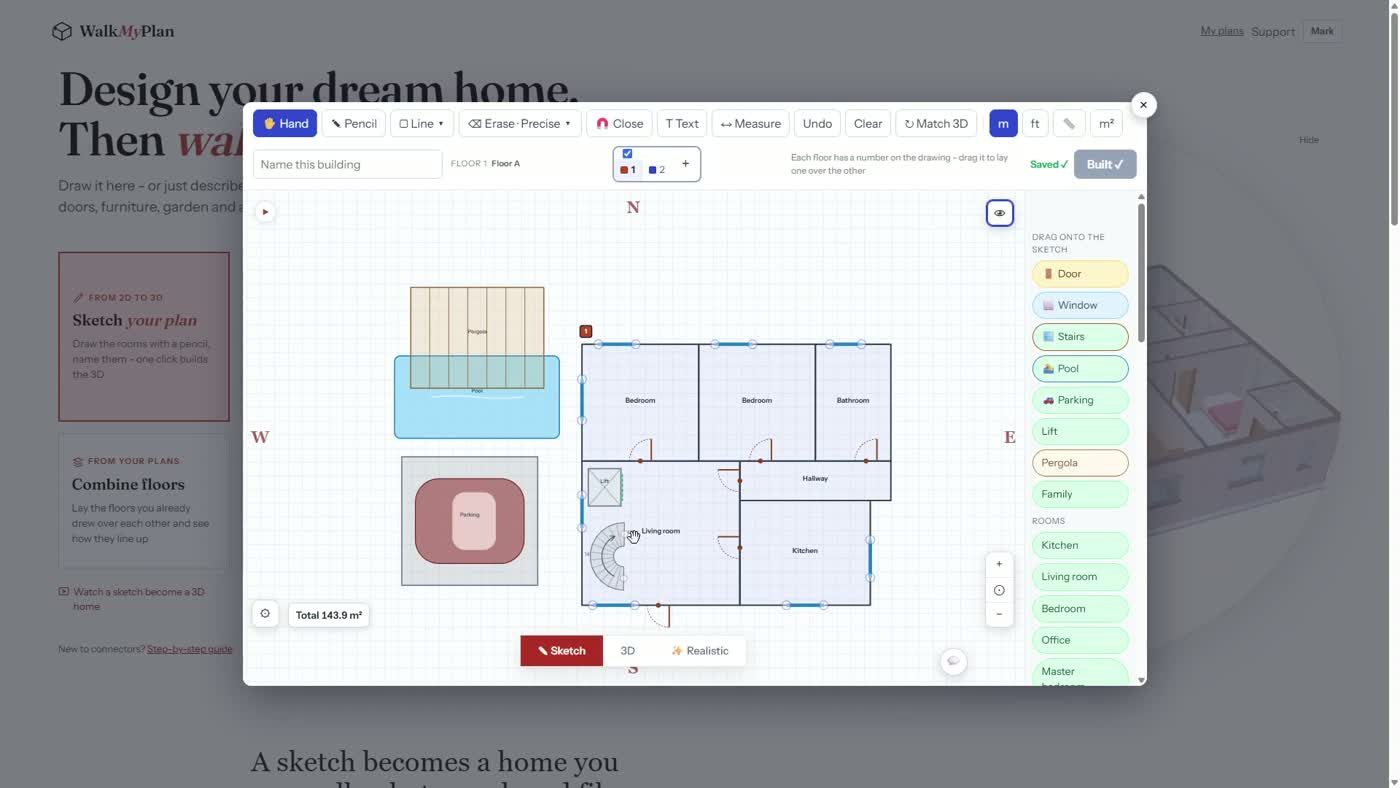
Adding a floor turns your plan into a building: it gets a name, and numbered tabs appear so you can move between floors. Each tab is a full sketch pad of its own.
Step 4 — Let it snap onto the floor below
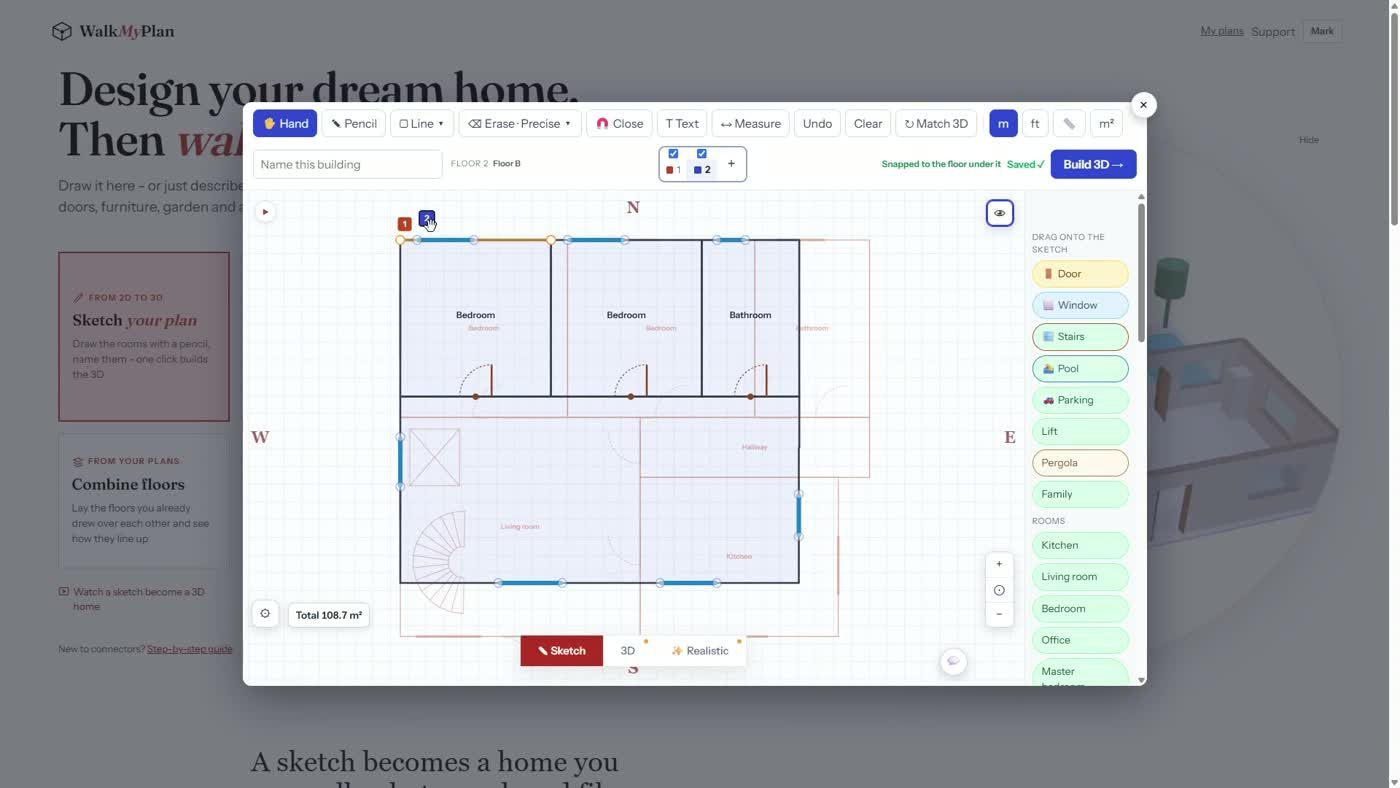
The floor underneath shows through faintly, and the new one snaps to it — the message says so when it lands. That is what stops the classic two-storey mistake where the upstairs sits a few centimetres off the downstairs and every wall is slightly wrong.
Step 5 — Two floors, one house
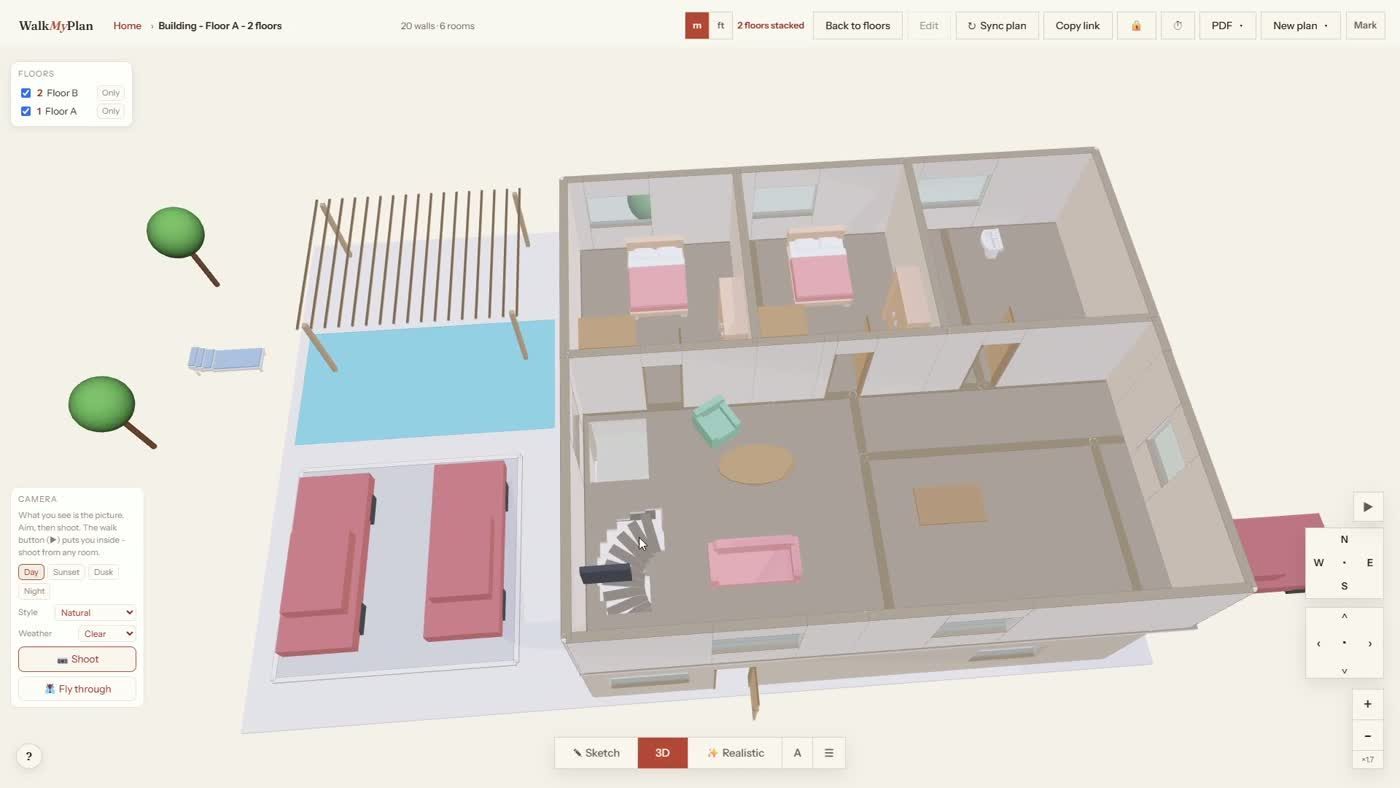
The panel on the left is how you read a stacked building: tick floors to show or hide them, or press Only to look at one on its own. It is the difference between a model you can inspect and a roof you can never see under.
Step 6 — Photograph the whole house
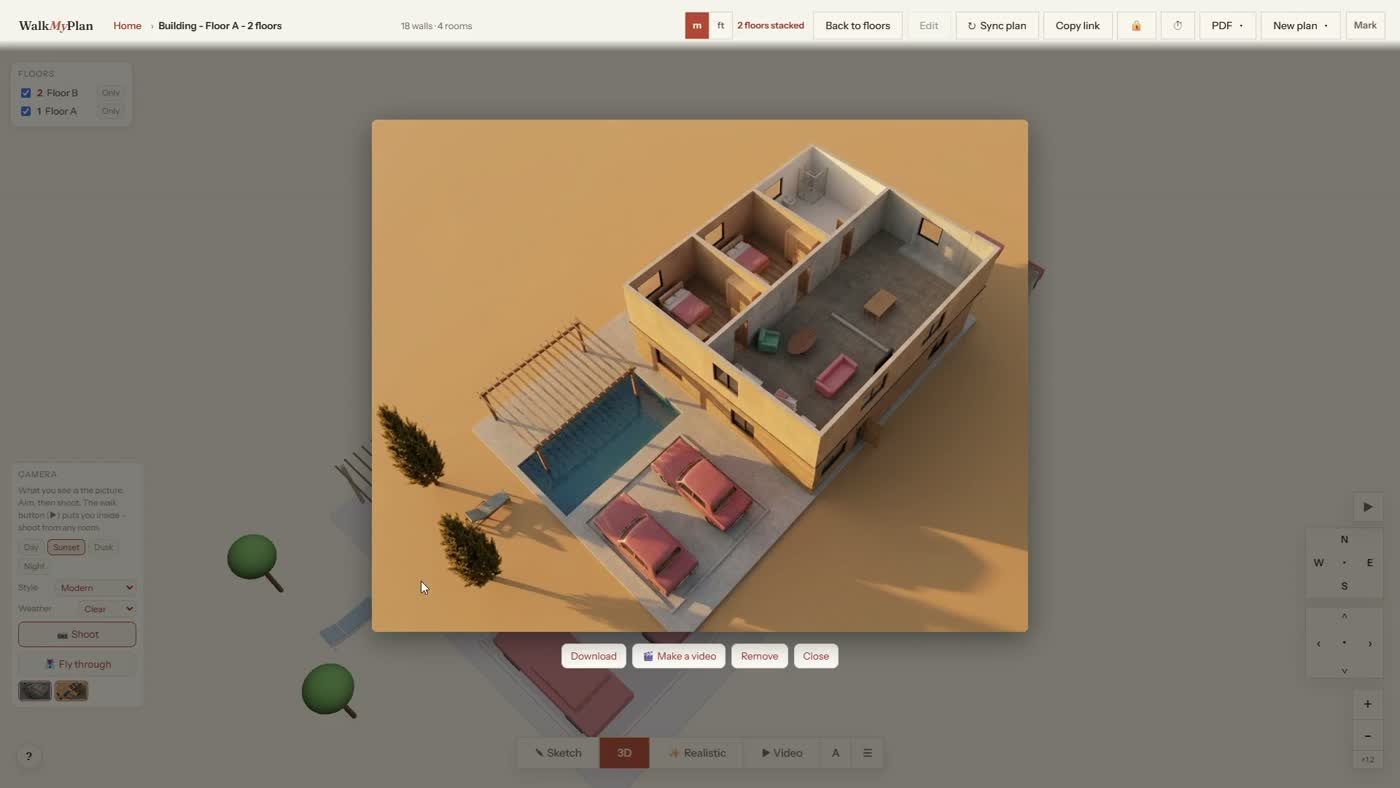
The realistic render works on the whole building, not one floor. It uses the measurements you set, so the proportions are your house's proportions. From here it can also become a short video clip.
Step 7 — Walk from one floor to the other
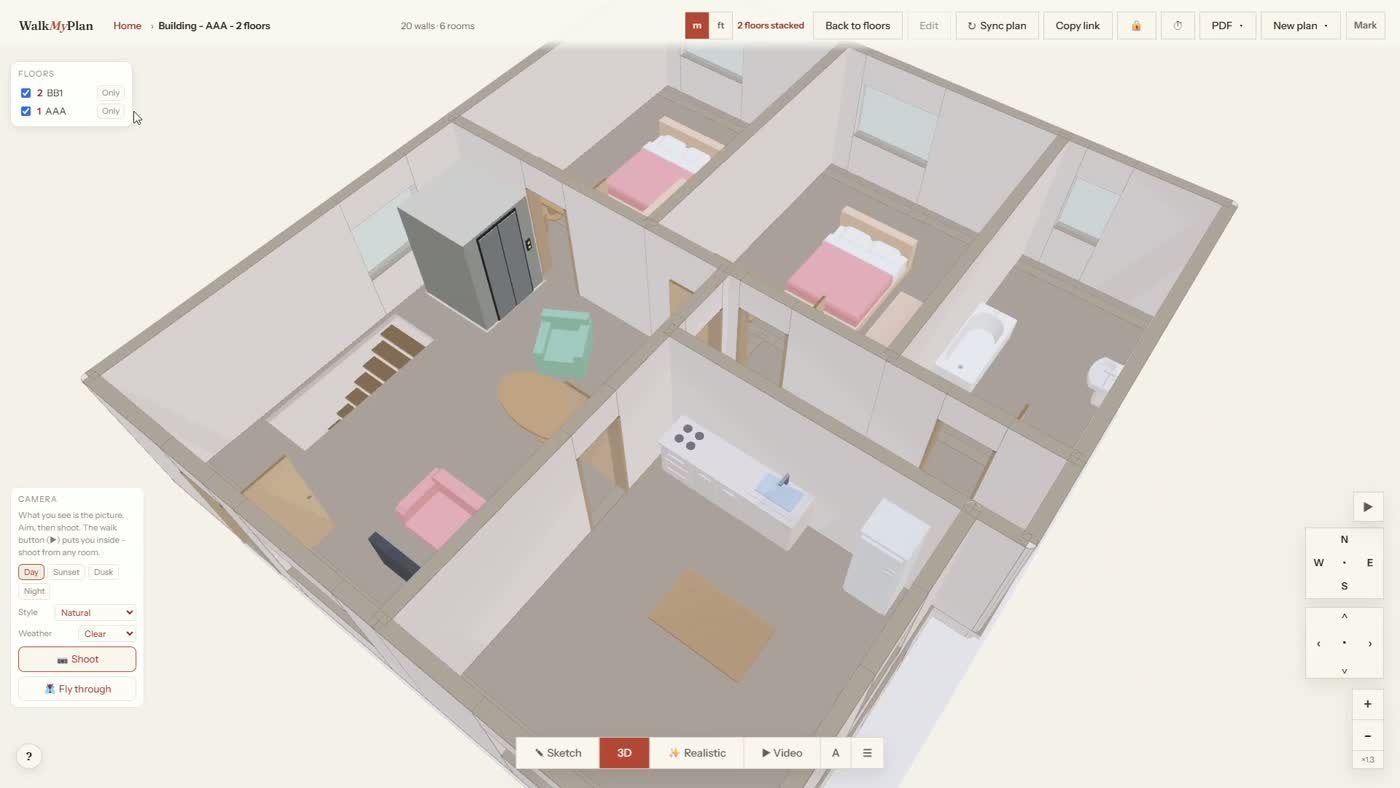
Drop to eye height and use the stairs. This is the point of the whole exercise: a house you can actually move through, not two drawings side by side.
Questions people ask
How many floors can I stack?
More than two. Each floor gets its own numbered tab, and the floors panel lets you show or hide any of them.
Do the floors have to be the same shape?
No. The upper floor snaps to the one below so the outer walls line up, but it can be smaller — that is how you get a terrace or a setback.
Where do the stairs go?
Place them on the lower floor before you add the one above, so you can see where they land. The floor above shows the lower floor faintly through the page, which makes lining up the opening straightforward.
Can I turn one floor into its own plan?
Yes. Each floor stays a plan in its own right, and the building is the thing that holds them together.
Build the whole house, not one floor of it
Draw the ground floor, then add the one above it. The floors line up by themselves.